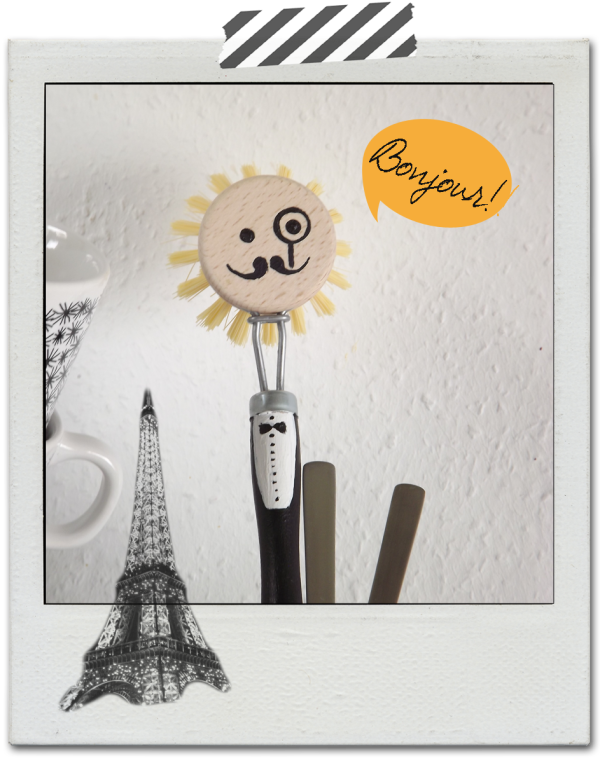
Bonjour Monsieur Clean!

bonjour Kopie

„Guten Tag mein Name ist Monsieur Clean, ich lege großen Wert auf Sauberkeit und Stil, und weil heute Sonntag ist habe ich mich extra für Euch feingemacht.“

„Good Afternoon Ladies and Gentleman, my name is Monsieur Clean. I attach great importance to cleanliness and style, and because today is Sunday, I put on my best Suit just for you. „

v-ansicht-mC

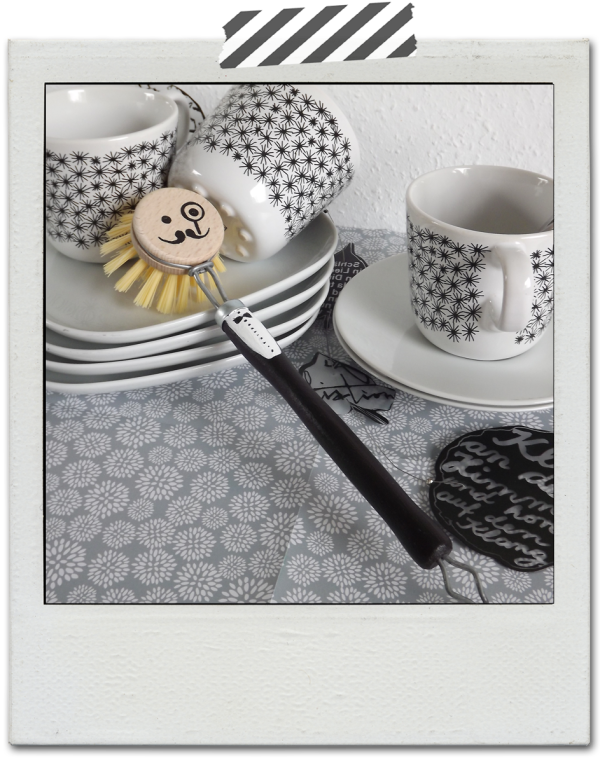
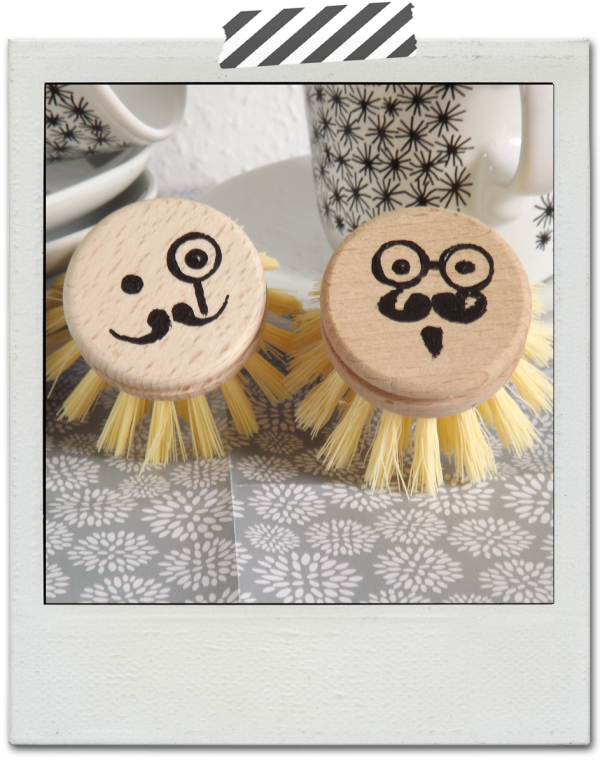
Irgendwann habe ich mal in einer Wohnzeitschrift eine Spülbürste gesehen die sich als Butler getarnt hatte. Diese Idee hat mir so gut gefallen, dass ich sie unbedingt einmal ausprobieren wollte. Die arme kleine Spülbürste musst lange in einem dunklen Schrank ein trauriges Dasein fristen, doch nun hat das Warten ein Ende. Frisch herausgeputzt darf Sie nun für Sauberkeit in meiner Küche sorgen, und weil ich Abwechslung mag habe ich einfach mal verschiedene Motive ausprobiert.

Not long ago I have seen a dish brush which had been disguised as a butler in a residential magazine. I loved that idea so much that I wanted to try it absolutely. Unfortunately, the poor little dish brush suffered a long and sad existence period in my dark closet, but finally the wait is over. Freshly spruced Monsieur Clean now ensures cleanliness in my kitchen, and because I like a change, I’ve also tried different motives.

MC-faces

das braucht Ihr für Monsieur Clean/ here’s what you need for Monsieur Clean:

  • 1 Spülbürste aus Holz /  1 wooden dish brush
  •  schwarze Arcrylfarbe/ black acrylic paint
  • weiße Acrylfarbe/ white acrylic paint
  • Klarlack, zum Schutz der Farben/ gloss paint to cover and protect the paintwork
  • 1 Schaschlikspieß, damit malt ihr die Knöpfe / 1 toothpick, to paint the buttons of the shirt with it
  • 1 Glas gefüllt mit Salz, dient als „Trockenständer“ für die Bürsten/ a glass with salt, as a stand for the dish brush so they can dry without getting dents in the paintwork
  • 1 Glas Wasser / a glass of water
  • Pinsel in verschiedenen Stärken / Brushes in different sizes

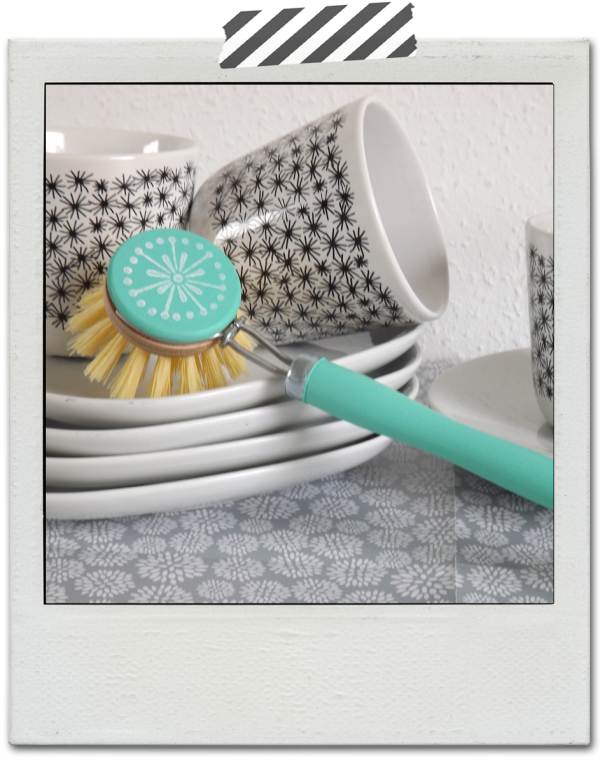
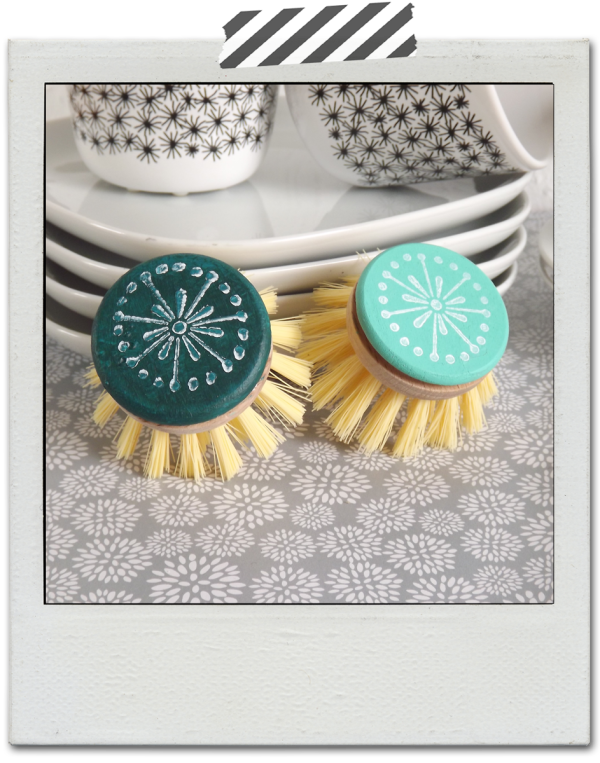
Und für diejenigen die es besonders eilig haben, hier noch eine ganz fixe Variante. Die Bürste einfach uni-farben anmalen und nach dem Trocknen bestempeln. / I have another tipp for those of you who are in a hurry, just paint the brush in your favorite color and stamp on it!

türkis-v

t-variante

Nicht vergessen, schaut am Sonntag, 08.12.2013 wieder vorbei zum großen Weihnachts-Spektakel. / Don’t  forget to drop by again on Sunday, 08.12.2013 for the big Christmas special.

unterschrift

DIY – Magnetwand / DIY – Magnetic Board

Das Material / The Material

  • Holzrahmen 51 x 51 cm
  • Montage-Kleber
  • 2 Stahlbleche jeweils 25 x 50 cm (Standardmaß aus dem Baumarkt), besser 1 Stahlblech 50 x 50 cm
  • gemusterter Stoff 70 x 70 cm
  • Clear Gesso
  • graue Acrylfarbe (mit ein klein wenig rot und gelb dämpfen)
  • Klarlack (wasserverdünnbar)
  • Computer-Ausdruck von einem Kiwi (oder beliebiges anderes Motiv)
  •  wooden frame 51 x 51 cm
  •   Mounting Adhesive
  •   2 steel sheets of 25 x 50 cm (standard size from the hardware store), better 1 steel sheet 50 x 50 cm
  •   patterned fabric 70 cm x 70 cm
  •   Clear Gesso
  •   gray acrylic paint (dampen with a little red and yellow)
  •   varnish (water-soluble)
  •   Computer printout of a Kiwi (or any other subject)

Das Werkzeug / The Tools

  • Schere
  • Tacker
  • Tackernadeln
  • Pinsel
  • Glas (mit Wasser gefüllt, zum reinigen der Pinsel, bzw. zum Verdünnen der Farbe)
  • alter Putzlappen (zum Abstreifen von überschüssiger Farbe oder Wasser aus dem Pinsel)
  • Scissors
  • Stapler
  • Staples
  • brush
  • glass (filled with water, to clean the brush, or to thin the paint)
  • old rags (for wiping off excess paint from the brush or water)

und so geht’s / and here’s the trick

1.) Die Metallplatten mit Montagekleber auf den Rahmen kleben. / Glue the metal plates with mounting adhesive onto the frame.

2.)  24 Stunden warten bis der Kleber ausgehärtet ist.  / Wait 24 hours until the adhesive is cured.

3.) Den Stoff zu schneiden und die Magnettafel damit beziehen. Den Stoff dabei sehr straff spannen und auf der Rückseite des Rahmens festtackern. Damit der Stoff nicht reißt oder Falten wirft die Nadeln leicht schräg zum Rahmen anbringen. / Cut the fabric and apply it onto the magnetic board. Thereby stretch the fabric taut around the frame and stapel it on the back of the frame. To prevent the fabric from tearing tear or wrinkling  station the needles in a slight angle.

4.) Die Stoffkanten nach Innen einschlagen und abschließend an der Rahmeninnenseite festtackern, so dass vom Holzrahmen nichts mehr zu sehen ist.  Damit dies auch an der Zwischenstrebe erfolgen kann muss der Stoff links und rechts der Strebe eingeschnitten werden.  /  Fold the fabric edges inwards and stapel it onto the inner side, so that the wooden frame is nothing more to see. To make sure this work with the  intermediate slat of  the frame you have to make a small cut on the left and the right side of the  slat.

5.) Die Magnetwand nun mit dem Cleargesso grundieren, alternativ kann man auch Matt Medium benutzen.  /  Now prime the magnetic board with Cleargesso, alternatively you can also use matte medium.

6.) Nachdem die Grundierung trocknen lassen.  / Let the primer dry.

7.) Den Kiwi ausschneiden und die Silhouette auf der Tafel nachzeichnen.  / Cut out the kiwi, and trace the outline onto the board.

8.) Nun die Acrylfarbe  auftragen, dabei den Kiwi aussparen, aber nicht den Rahmen. 😉  / Now apply the acrylic paint, avoiding the kiwi, but not the frame. 😉

9.) Nach dem die letzte Farbschicht getrocknet ist, kann der Acryl-Lack aufgetragen werden, damit alles gut versiegelt und geschützt, sollten es mindestens zwei Schichten sein.  / After the last layer of paint has dried, the acrylic paint can be applied to all well sealed and protected, it should be at least two layers.

Das März „Kunst-Stück“

It’s THINK MONDAY, hooray! Here is my first ATC, the background is acrylic paint, the graphic is a digital print. Sorry for the poor colours, my digital camera is sort of antique. Hope you like it though.

Danke Dani, Dani & Johanna für Euren inspirierenden Blog.